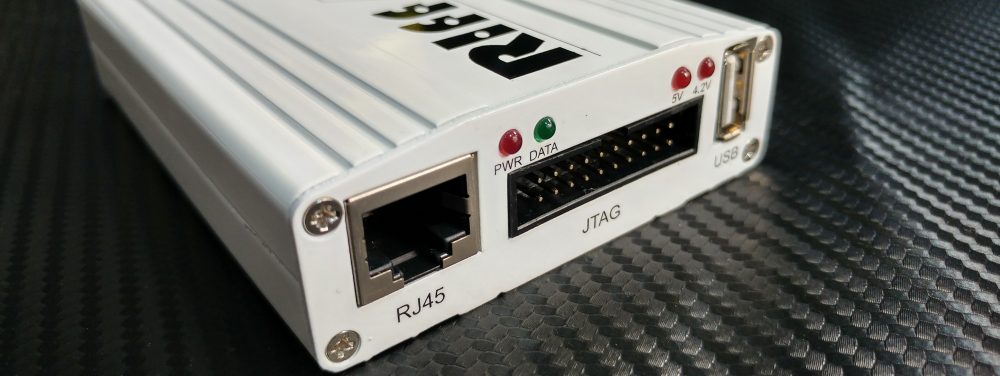
RIFF JTAG – HTC Flyer WiFi (PG41400) Unbrick, S-off, CID update supported
Repairing bricked HTC Flyer WiFi (PG41400) is easy with the RIFF Box. Phone is auto powered on with USB Data Cable connected to the PC while battery is connected. Please note, battery presense is required.
Some (or all) revisions of HTC Flyer boards have JTAG interface disabled (that is enable MARM JTAG Fuse is blown in the MSM8255 chip). In this case the JTAG may be enabled only by firmware itself. This is done by the DBL loader, so writing to DBL area is artificially disabled in the DCC Loader code. DCC Loader will discard all flashing attempts into DBL zone and will respond with success code as if flashing succeeded. In this way DBL zone is protected while user still can flash full image files seamlessly.
Resurrector will reflash radio’s boot zone (except DBL area) and will re-write PDA’s SPL to 1.11.0011 version. Additionally to SPL and Radio zones, the zone which contains Model ID is re-flashed too. Thus after resurrection phone will have Model ID = ‘PG4140000’.
There is option to reflash android BOOT and RECOVERY zones. Recovery zone is flashed with ClockworkMod Recovery 4.0.1.4. In addition, you can set S-OFF (unlock HBOOT so you will be able to flash any ROM) by selecting S-OFF HBOOT version in the resurrector settings.
Sometimes (for example after rooting attempts) phone has a modified DBL loader (which may not accept official HTC boot files). To restore phone functionality you need to reflash DBL loader. There is option to reflash DBL code (DBL area will be temporary unlocked for reflashing). But please note, reflashing DBL area is very dangerous, since in case flashing stops in the middle, you will have briked phone with permanently disabled JTAG interface.
Please note, if your phone has the DBL loader damaged and MCU has JTAG FUSE blown then there is no way to resurrect your phone via JTAG interface.
To resurrect HTC Flyer WiFi:
- Solder JTAG cable to HTC Flyer JTAG pads;
- Insert battery and connect USB Data cable;
- Make sure HTC Flyer (PG41400) is selected in the list of models;
- If you use only battery, press Power On key;
- Click Resurrect button;
- Wait till software signals a successful operation completion;
- Disconnect power supply, de-solder JTAG wires;
Now phone is in bootable condition, that is, even if it does not start up normally you can flash it using known flashing methods. You can use CWM recovery to flash any ZIP file – for this during resurrection add BOOT & RECOVERY zones to be resurrected too.
To enter download mode:
- Disconnect PC cable;
- Insert battery;
- Hold ‘Volume Down’ key and press ‘Power ON’ button.
.


