10.05.2011 CDMA LG VM265, CDMA Huawei Broadband Modem EC1260 supported
Resurrecting LG VM265 is easy. Phone is auto powered on with USB Data Cable connected to the PC. Battery presence is not required; connection can be established with detached board.
To resurrect LG VM265:
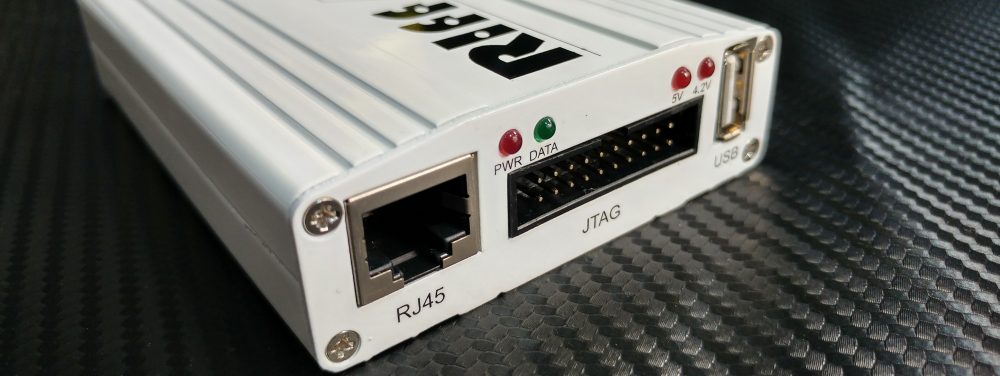
- Solder JTAG cable to LG VM265 JTAG pads;
- Insert USB Data cable into board and PC;
- Make sure LG VM265 is selected in the list of models;
- Click Resurrect button;
- Wait till software signals a successful operation completion;
- Disconnect power supply, de-solder JTAG wires;
Now phone is in bootable condition, that is, even if it does not start up normally, you can flash it using known flashing methods.

Resurrecting Huawei EC1260 is simple. Just make sure you solder all JTAG signals and insert modem into a USB port for it to get powered.
If modem is not detected by RIFFBOX JTAG, disconnect JTAG connector, re-insert modem into USB and then connect back the JTAG connector.
At resurrection startup you can select which zones are to be re-flashed. Thus you can save a lot of time if you know approximately which zone is damaged. Select EFS or MMC areas to be flashed only in case you are sure those are damaged – these areas quite big in size; unnecessary reflash is just a waste of time.
Please note, if you chose EFS to be repaired, an original ESN will be lost and substituted with the one contained in resurrection data. Current resurrector does not support ESN repair.
To resurrect Huawei EC1260:
- Solder JTAG cable to Huawei EC1260 JTAG pads;
- Insert Huawei EC1260 modem into any USB port for power;
- Make sure Huawei EC1260 is selected in the list of models;
- Click Resurrect button;
- After Selection Dialog popup choose zones to be flashed;
- Wait till software signals a successful operation completion;
- De-solder JTAG wires;

Please click “Check For Updates” button in order to download and apply new files. Closing all running application before starting update process is recommended.
