RIFF JTAG – Samsung GT-P6200 Galaxy Tab 7.0 Plus, ZTE Light Tab (ZTE V9), Orange Boston (Commtiva Z71), Huawei Ideos S7, unbrick – boot repair supported

17.02.2012   Samsung GT-P6200 Galaxy Tab 7.0 Plus, Orange Boston (Commtiva Z71), Huawei Ideos S7, unbrick – boot repair supported

  • Samsung GT-P6200 Galaxy Tab 7.0 Plus 

    Samsung P6200 is based on the S5PV310 (Exynos 4210) Processor (Cortex-A9 Dual-Core). JTAG pads are very small; professional experience in soldering is required to connect wires to the JTAG interface.
    Note, one simple way to connect over JTAG – connect USB cable to PC and insert battery. In this case phone is automatically powered on._
     

  • Huawei Ideos S7Resurrecting Huawei S7 is simple.
    Connection can be established with charger connected while battery is inside. . .
    .


  • ZTE Light Tab (ZTE V9)Resurrecting ZTE V9 is easy. Phone is auto powered on with USB Data Cable connected. . .
    _
  • Orange Boston (Commtiva Z71)
    Resurrecting the Orange Boston is easy.  I requires 4.2v external power supply, and some basic soldering skills. . .
    .

To download these new updates, You need to click “Check for Updates” button on Box Service TAB in RIFF JTAG Manager software.

RIFF JTAG – Direct JTAG Access to Flash Memory Plugin v1.01, TEGRA2 eMMC Supported

28.12.2011   Direct JTAG Access to Flash Memory Plugin v1.01, TEGRA2 eMMC Supported
Whats new:


  •  Added MSM6500
  •  Added TEGRA2 eMMC controller #2 support
  •  Added partition access selection for eMMC devices
  • Fixed AutoFlash Size bug for eMMC devices

Important info:

TEGRA 2 can be connected via CORTEX or ARM7 cores. In some cases, where CORTEX core is in sleep mode, it’s only possible to access ARM7 core, thus allowing access to shared memory space. Restoring Boot partitions via ARM7 core will enable access to CORTEX core after power reset.

Sample:

RIFF JTAG – Qtek 9000 (HTC Universal) Unbrick – Boot repair supported

15.07.2011  Qtek 9000 (HTC Universal) Unbrick – Boot repair supported

Current resurrector works with Qtek 9000 with MDOC G3 memory version. In order to establish JTAG connection charged battery is required. In some cases you will need to press power on key during initiating connection.
Please note, in case the Download Mode Initiation resurrection way is selected in the resurrector popup settings window, battery must be charged enough in order for phone to enter download mode.

Current resurrector offers 2 ways to resurrect the phone:

  •  WAY1: Writing SPL code directly into the MDOC memory (there are 2 hardware versions of the Qtek 9000 exist: boards with G4-type MDOC memory and boards with G3-type MDOC memory; current resurrector contains DCC Loader for G3 MDOC memory; thus for G4 version you need to use other resurrector)


  •  WAY2: Initiating DOWNLOAD MODE without touching MDOC contents;

MDOC G3 memory has security features, due to which there is a risk of permanently blocking the access to the flash memory while re-flashing the IPL loader. Current resurrector will not touch the IPL zone, but it is possible you’re already holding such killed device in hands. If it is so you will see this error:

****************************************************************
Detected a Not Initialized FLASH1 Chip ID: 0x0200/0xFDFF
ERROR: Selected FLASH Chip was not initialized by the DCC Loader
****************************************************************
In this case resurrection of your device is not possible. We advise you to solder a new flash memory chip and then use resurrector with IPL re-flash enabled.
To resurrect Qtek 9000 G3:

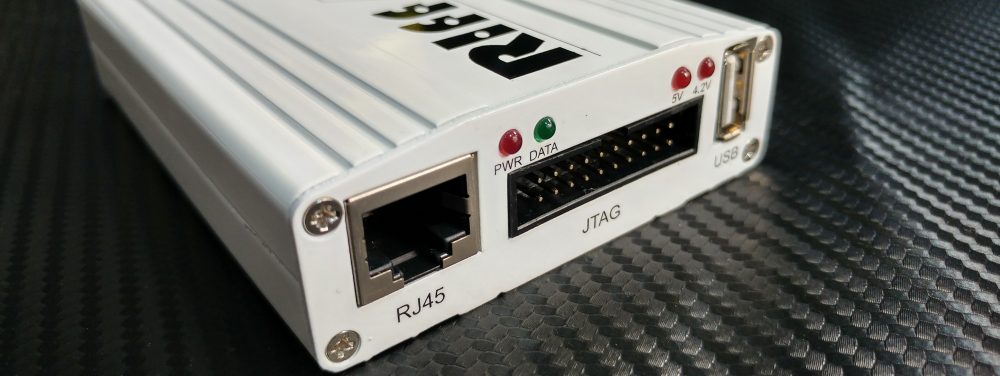
  •  Solder JTAG cable to Qtek 9000 G3 JTAG pads;
  •  Insert battery and connect USB cable to phone and PC;
  •  Make sure Qtek 9000 G3 is selected in the list of models;
  •  Click Resurrect button;
  •  In popup window select desired way of resurrection;
  •  Wait till software signals a successful operation completion;
  •  Disconnect USB cable, de-solder JTAG wires;

To enter download mode:

  •  Disconnect PC cable;
  •  Insert battery;
  •  Hold both ‘Light’ key (the one near to the volume slider) and ‘Power On’ key and press with stylus the reset hole-button.

Additional info:

  •  The DiskOnChip G3 memory type has security features. Access to both protected partitions (as IPL loader area) is done using password 00000000.
  •  IPL re-flash is intentionally switched off in this resurrector. While re-flashing the IPL area there is a risk of permanently blocking the memory chip.
  •  Memory is two DiskOnChip (MDOC) G3 cascaded chips, IDs are 0x0200; capacity is 64Mb+64Mb); though current DCC Loader was tested to read/write correctly only the SPL zones.


Please click “Check For Updates” button in order to download and apply new files. Closing all running application before starting update process is recommended.

RIFF JTAG – Samsung T749, Samsung E189 Unbrick – Boot repair supported

12.07.2011 Samsung T749, Samsung E189 Unbrick – Boot repair supported

The Samsung T749 board is auto powered on with USB Data Cable connected to the PC. Battery presence is not required; connection can be established with detached board.
To resurrect Samsung T749:

  •  Solder JTAG cable to Samsung T749 JTAG pads;
  •  Connect USB cable;
  •  Make sure Samsung T749 is selected in the list of models;
  •  Click Resurrect button;
  •  Wait till software signals a successful operation completion;
  •  Disconnect power supply, de-solder JTAG wires;

Now phone is in bootable condition, that is, even if it does not start up normally, you can flash it using known flashing methods.
In case you cannot find firmware files use Global RIFF Link & Data Exchange plugin – at the moment of resurrector release there was shared full dump from alive Samsung T749 phone.
To enter download mode:

  •  Disconnect PC cable;
  •  Insert battery;
  •  Hold both ‘Volume Up’ and ‘Camera’ keys and press ‘Power ON’ button.


Resurrecting Samsung E189 is simple.
Phone is auto powered on with USB Cable connected to the PC. Battery presence is not required; connection can be established with detached board.
Current resurrector contains Firmware and EEPROM zones for memory chip with ID 0x00EC/0x2256
To resurrect Samsung E189:

  •  Solder JTAG cable to Samsung E189 JTAG pads;
  •  Insert USB Data cable into board and PC;
  •  Make sure Samsung E189 is selected in the list of models;
  •  Click Resurrect button;
  •  Choose which areas to flash;
  •  Wait till software signals a successful operation completion;
  •  De-solder JTAG wires;


Please click “Check For Updates” button in order to download and apply new files. Closing all running application before starting update process is recommended.

RIFF JTAG – JTAG Manager v1.31, RIFF Box Firmware v1.23 released

20.04.2011 JTAG Manager v1.31, RIFF Box Firmware v1.23 released

Whats new :

JTAG Manager 1.31

  • “RUN/STOP” Loaders functionality is added (and alternative to the DCC Loaders)

This is required for some ARM7 cores when Debug Communication Channel (DCC) to/from core is not functional (like in MSM6000)

Firmware 1.23

  • Added 8/16/32-bit bus read/write access rotuines for ARM7 core
  • ARM7 debug is now available in ARM/Thumb modes (use the GDBServer for this);


Please click “Check For Updates” button in order to download and apply new files. Closing all running application before starting update process is recommended.

RIFF JTAG – QUALCOMM QSC60XX Generic NOR DLL-s

Resurrector QSC60XX L24 D08 contains only DCC Loader, thus it is to be used only for operations on DCC Read/Write page in the JTAG Manager.
Embedded DCC Loader is designed to work inside of MCU’s internal RAM memory, thus it is not sensitive to external SDRAM configuration or availability or its physical state.

Initial H/W init sequence will setup MCU’s PLL with these parameters:

  • L/M/N = 0x2A/0x00/0x01;
  • Global Clock Divisor = DIV8

You can use these two DLL-s with all QSC6xxx CPU devices with NOR flash.
(Any CDMA phones with Qualcomm QSC60xx CPU, with NOR flash chip)